How to Make Product Demos Using AI
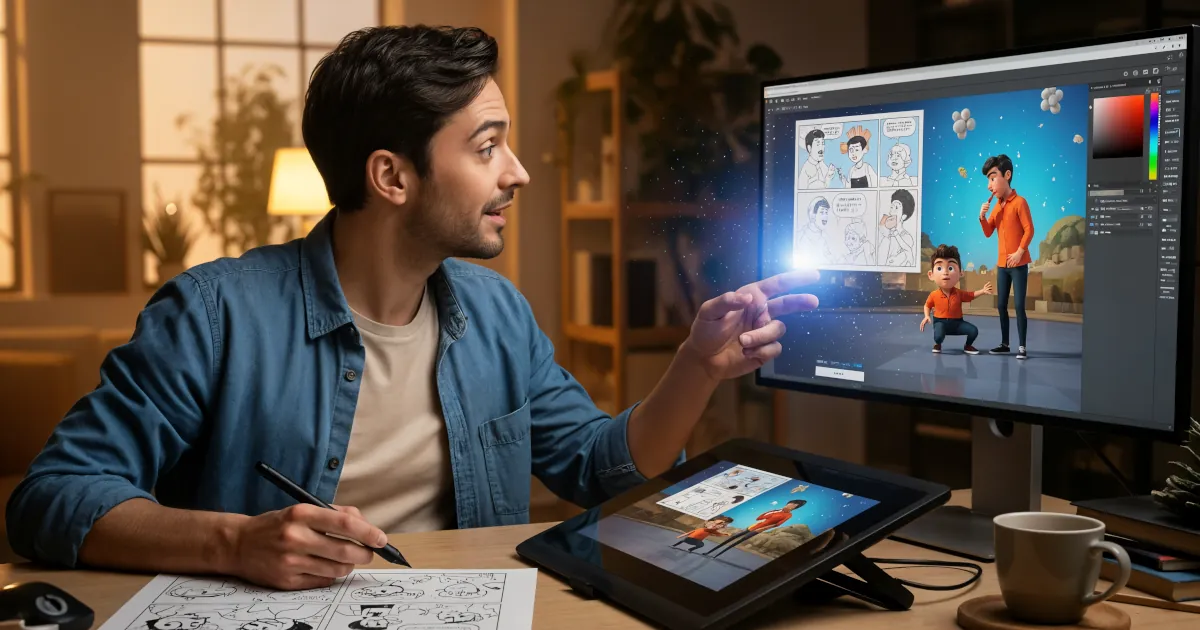
Showcasing your product used to mean hiring a videographer, renting a studio, and praying everything went right on shoot day. Now you can create slick, 3D-style product demos from your laptop using AI video tools for product design and marketing.
This guide walks you through how to do it step-by-step, even if you’re not a designer, videographer, or editor.
Why Use AI for Product Demos?
AI-powered video tools let you:
- Show your product in 3D without learning 3D modeling software
- Swap colors, backgrounds, and scenes in minutes
- Create multiple versions for landing pages, ads, and social media
- Test ideas fast before investing in expensive production
Perfect if you’re a startup, solo founder, marketer, or indie maker who needs pro-quality demos on a budget.
Step 1: Decide the Goal of Your Demo
Before you open any AI tool, decide what the video should achieve. A demo is not just “showing the product.” It should have a specific job.
Common demo goals:
- Explainer demo – Show what the product does and who it’s for
- Feature highlight – Focus on 1–2 killer features
- Landing page hero video – Short, looping, visual-first
- Ad creative – Fast, punchy, scroll-stopping
Ask yourself:
- Who is this for? (Founders, designers, developers, consumers, etc.)
- What should they understand in 30–60 seconds?
- What do you want them to do after watching? (Sign up, book a call, pre-order, click “Buy”)
Write this in one sentence. Example:
“This demo will show startup founders how our AI design tool turns sketches into polished mockups in under 1 minute so they sign up for a free trial.”
That one sentence will guide everything that follows.
Step 2: Script a Simple Story (Not Just Features)
Even with AI, bad in = bad out. You still need a clear story.
Use a simple 4-part structure:
- Problem – What pain are they feeling?
- Promise – What does your product make possible?
- Proof / Demo – Show it in action
- Next step – Tell them what to do now
Example script outline for a SaaS product:
- Problem: “Managing product feedback across tools is a mess.”
- Promise: “Our app brings all feedback into one clean dashboard.”
- Proof: Show the product screen: importing feedback, tagging, prioritizing.
- Next step: “Try it free for 7 days. No card required.”
Keep your voiceover or captions under 120 words for a 1-minute demo. You want visual breathing room so your product shots can shine.
Step 3: Get Your Product Assets Ready
The AI tools work best when you give them good input.
Depending on your product type, gather:
For physical products
- High-res photos from multiple angles
- Any 3D files (if you have them) like .obj, .fbx, .glb
- Brand colors, fonts, and logo
For digital products (apps, SaaS, websites)
- Clean screenshots of your UI
- Short screen recordings using Loom, CleanShot, or similar
- Versions with/without browser chrome if possible
Pro tip:
Turn UI screens into separate sections (dashboard, settings, mobile view) so AI tools can animate transitions between them.
Step 4: Choose the Right AI Video Tools
Here are categories of AI video tools for product design and demos, and what they’re best at:
1. AI 3D / Product Visualizers
Use these if you want your product spinning, zooming, or placed in scenes:
- Tools that turn photos into 3D-like mockups
- Platforms that let you drag-and-drop 3D objects into scenes
- Generative tools that create studio-style renders from prompts
Typical use:
“Show my smart water bottle on a marble table in a minimalist kitchen, rotating slowly with soft lighting.”
You upload product images or a 3D file, then customize angles, materials, and backgrounds.
2. AI Video Composers
These help you assemble full videos from text, assets, and templates:
- Input: short script + your product images/videos
- Output: edit-ready demo with scenes, transitions, and captions
Look for tools that support:
- Vertical (9:16) and horizontal (16:9) formats
- Brand kits (colors, fonts, logos)
- Easy scene-by-scene editing
3. AI Screen + UI Animators
Perfect for SaaS and mobile apps:
- Convert static screenshots into animated flows
- Simulate clicks, scrolls, and hovers
- Add device frames (laptop, phone, tablet)
Instead of painstaking keyframe animation, you say:
“Show user clicking ‘Generate’, then chart updates, then success toast appears.”
And the AI sets up the motion.
4. AI Voice and Subtitle Tools
These handle audio and clarity:
- Generate natural-sounding AI voiceovers from your script
- Support multiple languages and accents
- Auto-generate captions (a must for social and mobile viewers)
You can also add light background music and the AI will duck it under the voice.
Step 5: Build the Demo Step-by-Step
Here’s a simple workflow that works for most products:
1. Create your key hero shot
This is the opening scene that hooks attention.
Examples:
- 3D view of your physical product rotating against a clean background
- Laptop + mobile mockups of your SaaS showing the dashboard
- Before/after split screen (left: chaos, right: your clean UI)
Use AI 3D or mockup tools to generate multiple variations. Choose one that feels on-brand and clear at a glance.
2. Storyboard 4–6 short scenes
You don’t need to draw. Just write bullets:
- Hook – The problem or big promise
- Overview – What your product is in one line
- Feature 1 – Shown visually
- Feature 2 – Shown visually
- Social proof – Logos, numbers, or short quote
- Call to action – What to do next
Then map each bullet to:
- A visual (3D shot, UI animation, or text on screen)
- A short voice line or caption
3. Use AI to generate transitions and motion
Send your storyboard into your AI video composer:
- Upload visuals (3D renders, UI shots, logos)
- Paste your short script
- Choose a style: minimal, bold, playful, cinematic
Ask the tool to:
- Add smooth pans/zooms on your product
- Animate UI steps (click > result > outcome)
- Add simple text overlays for clarity
Then refine scene by scene.
Step 6: Polish for Marketing and Conversion
Don’t stop at “looks cool.” Make sure the demo sells.
Check these:
Clarity
- Can someone understand what you offer with sound off?
- Do your on-screen words match what we see?
Length
- Aim for 30–60 seconds for most demos
- Under 20 seconds for ads and social hooks
- Up to 2–3 minutes for in-depth onboarding demos
Branding
- Consistent colors and fonts
- Logo appears at beginning and end
- CTA is clear and spoken + shown on screen
Credibility
- Add one quick trust element:
- “Used by 500+ teams”
- “Rated 4.9/5 on G2”
- “Backed by…”
- Add one quick trust element:
Then export multiple aspect ratios:
- 16:9 for YouTube, website
- 1:1 or 4:5 for feeds
- 9:16 for Reels, Shorts, TikTok
Most AI tools make this resizing automatic.
Step 7: Test, Iterate, and Reuse
The biggest advantage of AI video tools for product design and marketing is speed. Use it.
- Create 2 versions with different hooks and see which performs better
- Swap the headline or first 5 seconds for ad testing
- Localize with different voiceovers and subtitles for new markets
- Turn your main demo into:
- Short explainer clips
- Feature-specific teasers
- Background loops for your landing page
You’re not just making one demo; you’re building a library of reusable video assets.
Quick Recap
Using AI video tools, you can:
- Turn static designs into dynamic 3D-style demos
- Animate your UI without being a motion designer
- Generate voiceovers, captions, and multiple versions fast
- Create product videos that actually help you sell, not just “look nice”
If you’re building a startup or running lean marketing, AI video is one of the highest leverage tools you can add to your stack.