Storyboarding Films with AI Image Creators
Plan entire movies visually in minutes? That used to be a fantasy only big studios with big budgets could entertain. Now you can do it on a laptop, in your bedroom, with a couple of prompts and a free AI image tool.
Welcome to the era of AI-powered storyboarding.
In this article, we’ll walk through how to use AI image creation for pre-production: turning scripts into visual sequences, testing styles, exploring camera angles, and building mood boards and shot lists at lightning speed.
Why Storyboards Still Matter (Maybe More Than Ever)
Before we dive into the tech, a quick reminder: storyboards aren’t just “nice to have.” They help you:
- See the film before you shoot
- Align the team on tone, framing, and pacing
- Spot problems early (awkward staging, confusing geography, dull shots)
- Save money and time during production
The only problem: traditional storyboarding is slow, expensive, and often depends on having a decent illustrator on hand.
AI image creators flip that equation.
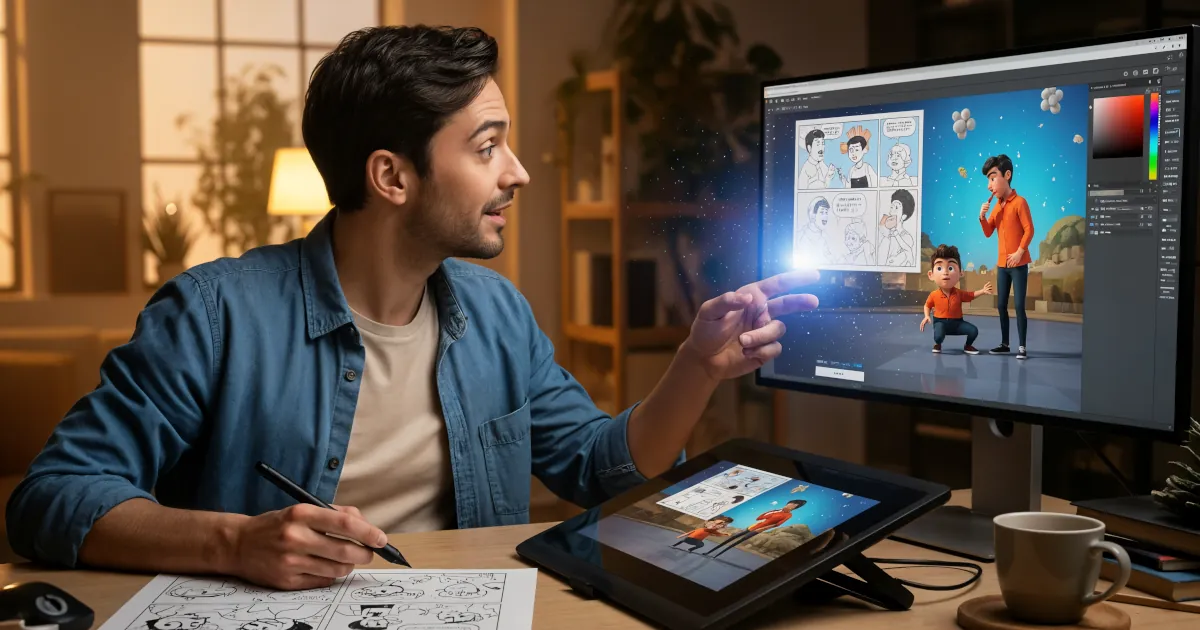
What AI Image Creators Can Actually Do For Filmmakers
AI image tools (like Midjourney, DALL·E, Stable Diffusion, etc.) are basically visual collaborators that respond to text prompts. For filmmakers, they can:
- Generate concept frames from your script in seconds
- Explore multiple visual styles for the same scene
- Suggest lighting, composition, and color palettes you might not think of
- Help non-artists create presentable storyboards for pitches
You won’t get perfect, literal frames that match your final shots. But you’ll get something just as valuable: fast, cheap visual thinking.
Step 1: Turn Script Beats Into Visual Prompts
Start simple. You don’t need full storyboards for your entire film right away. Begin with your key beats.
Break your script into moments, not pages
- “Hero stands alone on the rooftop at night, city lights behind them.”
- “Two characters argue in a cramped kitchen, daylight through a small window.”
- “Car chase through rainy streets, reflections on wet asphalt.”
Convert each beat into a text prompt
Include:- Location
- Time of day
- Mood
- Cinematic style
- Camera angle
Example prompt:
cinematic storyboard frame, wide shot, young woman standing alone on a rooftop at night, modern city skyline with neon lights behind her, moody, high contrast, soft rain, film still, 2.39:1
Generate multiple variations
Ask the AI tool for 4–8 variations. You’re not looking for perfection; you’re looking for options.
Within minutes, you’ll have a grid of frames that already feel like a rough storyboard.
Step 2: Lock In Your Visual Style
One of the most powerful pre-production uses of AI image creation is style exploration. Before you lock costumes, production design, or lenses, you can test the film’s visual identity.
Try generating the same scene in different styles:
- “naturalistic, like a 1970s drama”
- “dark, desaturated, like a modern thriller”
- “warm, pastel tones, indie film look”
- “high contrast, neon cyberpunk look”
You’ll quickly see what fits your story. You can then keep references consistent by:
- Re-using the same style tags in all your prompts
- Referencing a specific photographer, cinematographer, or movement (e.g., “in the style of film noir,” “inspired by Roger Deakins lighting”)
- Using aspect ratio cues like “widescreen 2.39:1” or “16:9 frame still”
This becomes your visual bible: a quick portfolio of how your film should feel. Share it with your DP, production designer, and costume designer.
Step 3: Block Your Shots With AI Help
You don’t need the AI to nail every detail; you need it to help you think.
Pick a scene and explore:
Different camera angles
- “wide establishing shot of a small diner at night, streetlights outside”
- “medium two-shot inside the diner, both characters at the counter”
- “close-up on the protagonist’s face, neon sign reflected in the window”
Different compositions
- Centered subject vs. rule of thirds
- High angle vs. low angle
- Foreground elements framing your character
Different staging
- “Character A in foreground, blurred, Character B in background in focus”
- “Over-the-shoulder shot from behind Character A, focusing on B’s reaction”
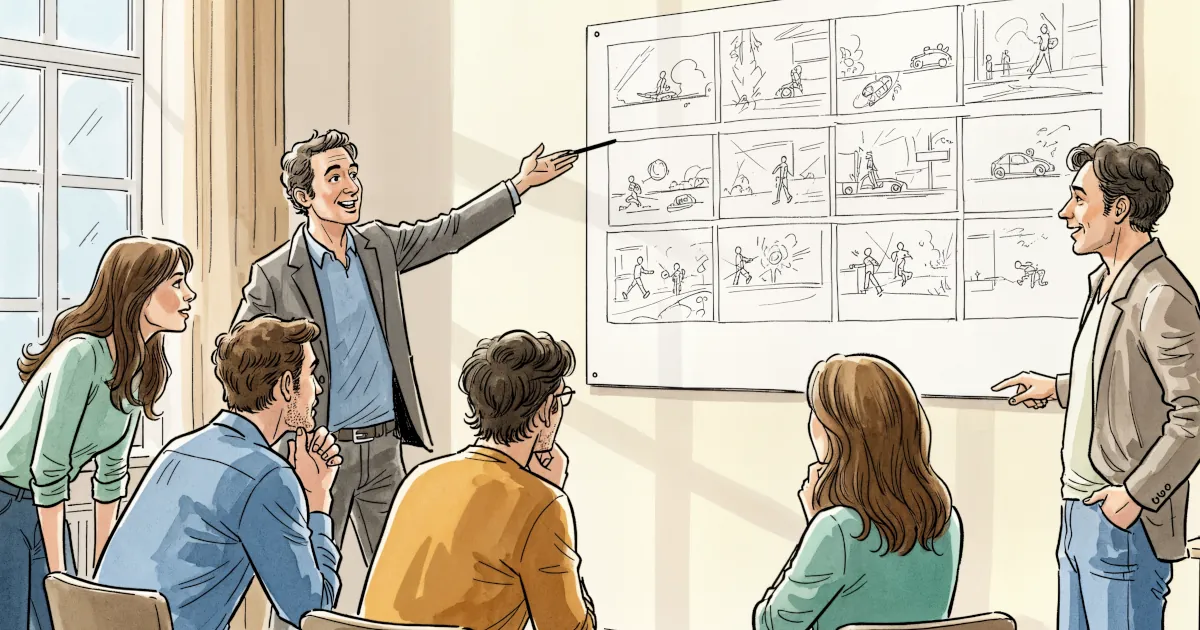
Use AI to generate multiple options for each moment. Then choose the ones that feel most cinematic and emotionally true. You can even order them into a sequence, print them, and annotate them like classic storyboards.
Step 4: Turn AI Frames Into a Shot Plan
Once you’ve got a set of frames that work, it’s time to connect them to practical filmmaking.
For each AI-generated frame, add:
- Shot type: wide, medium, CU, ECU
- Lens idea: 24mm wide, 35mm, 50mm portrait, etc.
- Camera movement: static, slow push-in, handheld, dolly left, crane down
- Notes for lighting: “backlit with soft fill,” “hard top light,” “warm practicals only”
You can do this in a simple document, spreadsheet, or production tool. The point is:
AI provides the visual cue; you provide the filmmaking logic.
This becomes your shot list + storyboard hybrid, which is much easier for your crew to follow than a wall of text.
Step 5: Use AI for Mood Boards and Pitch Decks
AI images are also brilliant for early-stage pitching and development.
Use them to build:
- Location mood boards – “abandoned motel by a highway, overcast sky, lonely, cinematic”
- Character looks – “mid-30s detective, tired eyes, crumpled suit, 1990s crime drama style”
- Lighting references – “warm bar interior, strong contrast between subject and background, shafts of light”
- Action sequences – “dynamic car chase, low angle, rain, motion blur illusion”
Drop these into a deck and suddenly your project looks far more real, even before you’ve shot a frame.
This is especially effective for indie filmmakers who need to convince collaborators, actors, or investors that the film has a clear, compelling visual identity.
Things AI Can’t Replace (And Shouldn’t)
AI is powerful, but it’s not a director, DP, or storyboard artist. It has limits:
- Continuity is hard. Keeping the same character, outfit, and exact environment across many frames can be tricky. You may need to accept some inconsistency and annotate manually.
- It doesn’t understand your story. It only understands your prompt. Emotional beats, subtext, and character arcs are still on you.
- Some details will be wrong or weird. Hands, props, text, small details in the background may be off. For pre-production, that’s usually fine.
Think of AI as a hyper-fast, slightly chaotic concept artist, not an all-knowing visual director. You’re still in charge.
Workflow Tips for Filmmakers
To get the most out of AI image creation for pre-production:
Stay organized
Save frames into folders:- 01 – Opening Scene
- 02 – Apartment Interior
- 03 – Rooftop Confrontation
And so on.
Name your files clearly
“Scene_3_Shot_5_MCU_Protagonist_Window” is better than “Image_5432.png.”Annotate everything
Print or import into a tablet and scribble: camera moves, dialogue beats, emotional notes.Iterate quickly
Don’t chase the perfect frame. Get a good-enough visual, then move on to the next beat. You can always refine later.Use AI as a conversation starter
Bring these images into meetings and ask:- “Is this the right mood?”
- “Should this be closer, more intimate?”
- “Is this too stylized for our story?”
AI storyboards work best when they spark discussion, not when they dictate decisions.
The Bottom Line: Visual Planning in Minutes
Using AI image creators for storyboarding doesn’t replace traditional craft; it compresses the early, messy part of visualizing a film into hours instead of weeks.
You can:
- Explore styles before you’ve booked a single location
- Pre-visualize tough scenes before they cost you time on set
- Share a clear visual roadmap with your cast and crew
- Make your pitch materials instantly more compelling
If you’re serious about modern filmmaking, AI-assisted storyboarding is less of a gimmick and more of a new essential tool in your pre-production kit.