AI for Teachers: Making Educational Videos Instantly
You already have a full-time job planning lessons, grading, emailing parents, filling in spreadsheets, and trying to remember when that staff meeting is. Now everyone also expects video lessons, flipped classrooms, and “engaging digital content.”
The good news: you don’t need a film degree or hours of editing time. That’s where AI video creation tools come in.
Let’s break down what these tools are, how they actually help real teachers, and how you can start using them without burning out or breaking your budget.
What is an AI video creation tool for education?
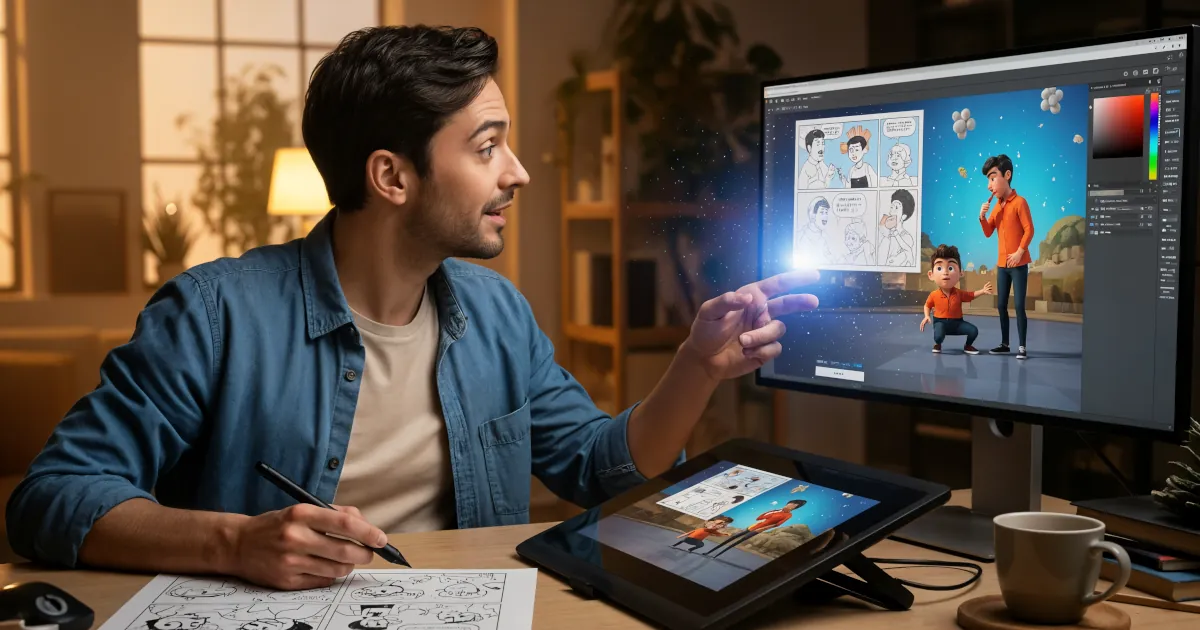
An AI video creation tool for education is software that helps you turn your ideas (or existing materials) into teaching videos with minimal effort.
Instead of:
- Filming yourself on camera
- Spending hours editing
- Re-recording every time you mess up
…you can use AI to:
- Turn text into spoken explanations
- Add visuals, captions, and animations automatically
- Generate a “virtual teacher” avatar
- Translate or subtitle your videos in other languages
You give the tool your content (a script, slides, notes, or even a worksheet), and it helps you produce a video lesson in minutes instead of hours.
These tools don’t replace you as the teacher. They just handle the boring production work so you can focus on teaching, not video editing.
Why teachers are turning to AI video tools
Here are the main reasons teachers keep trying (and sticking with) AI video creation tools:
1. Massive time savings
Recording a 10-minute video can easily take an hour or more: setting up, recording, re-recording, trimming, fixing audio, adding slides.
With AI, you can often:
- Paste your lesson script or bullet points
- Choose a style (talking head, slides, whiteboard, screen recording)
- Hit “generate”
Need to fix something? Just edit the text and regenerate. No re-shooting.
2. Perfect for flipped and blended learning
If you’re doing flipped classrooms, blended learning, or want students to review topics at home, AI helps you quickly build a video library of:
- Mini-lessons
- Topic overviews
- Step-by-step worked examples
- Revision summaries
Once you’ve made them, you can reuse them every year, adjust for new classes, or quickly update them when the curriculum changes.
3. Great for different learning needs
AI videos can support differentiation and accessibility:
- Captions for students who are hard of hearing or prefer reading
- Adjustable speed for students who need slower explanations or quick review
- Visuals and diagrams for visual learners
- Translations for multilingual students or parents
Some tools even let you create multiple versions of the same lesson: a short, simple recap and a more detailed deep-dive.
4. You don’t have to be on camera
Not everyone loves seeing themselves on video. AI tools let you:
- Use a virtual avatar
- Use just your voice with animated slides
- Use no voice at all and rely on AI narration
You can still build a strong teacher presence with consistent style, colors, and structure, without having to appear on-screen every time.
What can you actually create with AI video tools?
Here are practical ways teachers use them, across subjects and ages:
- Explainer videos: Quick breakdowns of concepts (photosynthesis, fractions, thesis statements).
- Worked examples: Step-by-step math problems, science calculations, writing analysis.
- Grammar or language bites: Short clips focused on one rule or pattern.
- Instructions for projects: Walkthroughs of expectations, rubrics, and timelines.
- Lab preps and demos: Safety reminders, lab background, or virtual experiments.
- Exam revision series: Topic-by-topic review with key points and example questions.
- Parent information videos: How to use the school portal, homework routines, exam guidance.
The key is to think: “What do I find myself explaining over and over?” That’s a perfect candidate for an AI-generated video.
Simple workflow: From idea to AI video
Here’s a straightforward, teacher-friendly process you can use:
Step 1: Start with what you already have
You don’t need to reinvent the wheel. Look at:
- Your existing slides
- Worksheets
- Lecture notes
- Old PowerPoints
These can become the backbone of your video. Most AI tools let you upload slides or copy-paste text.
Step 2: Write (or tidy) a short script
A script doesn’t need to be fancy. Think of it as how you’d explain the topic in class, just written down.
Aim for:
- 3–7 minutes per video
- Clear, simple language
- One main idea per video
If you want help, you can even use AI text tools to turn your bullet points into a draft script, then edit it to sound like you.
Step 3: Choose a video style
Different tools offer different formats, such as:
- Talking avatar + text: A virtual teacher explains the topic.
- Slides + narration: Your slides appear while AI or your voice does the explaining.
- Screen recording + narration: Perfect for showing websites, code, or software.
- Whiteboard-style animation: Simple drawings and text appear as you explain.
Pick the style that matches your subject and age group. Primary students may love more visuals and movement; older students often like clean, direct explainer videos.
Step 4: Let the AI do the heavy lifting
Once you upload/import your script or slides, the AI can:
- Add voiceover (you or an AI voice)
- Sync visuals with the audio
- Insert stock images, icons, or simple animations
- Create captions automatically
You can then preview the video and make small edits before sharing.
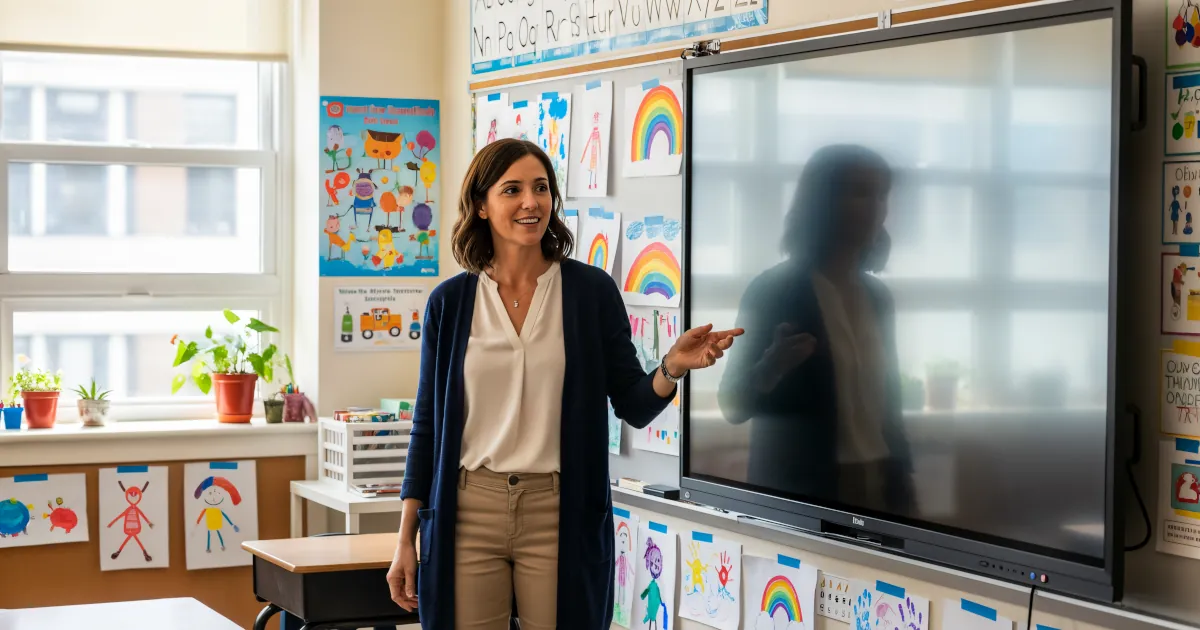
Step 5: Share with students
You can:
- Post the video in your LMS (Google Classroom, Canvas, Schoology)
- Share via a link
- Embed it in a slide or assignment
- Use it in class as a lesson starter, recap, or station activity
Encourage students to pause, rewind, or rewatch as needed. That’s one of the best benefits: your explanation is now “on-demand.”
Tips to keep your AI videos effective (and human)
Even though the tool is “smart,” the teaching still comes from you. A few simple tips:
- Keep it short: Multiple 5-minute videos beat one 30-minute one.
- Stay yourself: Use your regular classroom tone and phrases. Students recognize your style.
- Add questions: Pause to ask, “Pause the video and try this question,” or “Write down two examples.”
- Use consistent visuals: Same colors, fonts, and layout help students know they’re in familiar territory.
- Update over time: Notice where students get stuck and tweak that section next year.
AI handles the production; you handle clarity, connection, and pedagogy.
What about cost and learning curve?
Many AI video tools offer:
- Free tiers (with watermarks or limits)
- Education discounts
- School or district licenses
Start small:
- Pick one lesson you always re-explain.
- Turn it into a 3–5 minute AI video.
- Test it with one class.
- Ask students: Was this helpful? What confused you?
Once you’re comfortable, you can build topic playlists or full course channels over time.
Using AI responsibly in the classroom
A few things to keep in mind:
- Check accuracy: AI voices and visuals are fast but not always perfect. Always review.
- Protect privacy: Be careful with student names, images, or sensitive data.
- Be transparent: Let students know you’re using tools to save time and create more resources for them.
- Keep the teacher at the center: The video supports your lesson; it doesn’t replace live teaching, feedback, or discussion.
When used well, AI isn’t about less teacher. It’s about less repetition and more time for feedback, creativity, and actual human connection.
Ready to try?
If you’re curious about what an AI video creation tool for education can do for you, start with just one small experiment:
- Pick a topic.
- Turn your notes into a short AI-generated explainer.
- Use it for homework, revision, or class prep.
- See what changes in your workload and your students’ understanding.
You don’t have to overhaul your whole course. One video at a time is enough to feel the difference.
If you’d like more classroom tech ideas, strategies, and simple workflows for AI videos, remember to subscribe or follow along. This space is all about making teaching easier, not harder.